





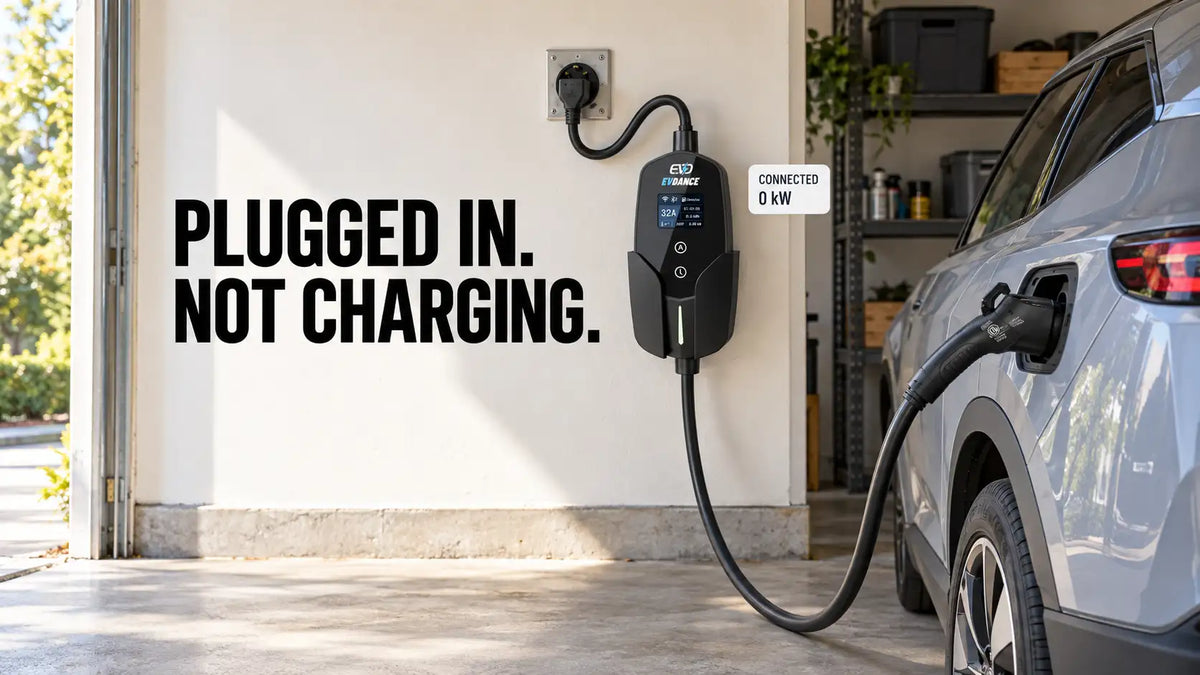
An EV can recognize that a charging connector is attached without actually starting a charging session. The vehicle may be waiting for a scheduled time, the battery may already be at its charge limit, or a connection or equipment check may not have completed.
Start by checking the charging status shown by the vehicle and charger. Their messages can usually reveal more than repeatedly unplugging the connector or resetting the equipment.
Connected Does Not Mean Charging
After the connector is inserted, the vehicle and charging equipment complete several checks before power is delivered. The vehicle may display “connected,” “waiting,” “scheduled,” or a similar message during this process.
A click from the charger may come from an internal switching component. It can occur as the equipment attempts to start charging, but the sound alone does not confirm that power is continuing to flow.
Check the vehicle display or app for the actual charging rate. If it shows zero power, a future start time, or an alert, the charging session has not started.
Check Whether the Car Is Waiting
First, compare the current battery level with the vehicle’s charge limit. A car set to stop at 80% will not begin another charging session if the battery is already at or near that level.
Next, review any charging schedule saved in the vehicle. Some settings apply only at a saved location, so a schedule previously created for home may still affect the next session.
A charger can also have its own delayed-start setting. If both the vehicle and charger control the charging time, their schedules may not overlap. Temporarily reviewing both settings can show whether the equipment is waiting rather than malfunctioning.
Some vehicles may also take a short time to prepare the battery before charging. Tesla’s official charging instructions, for example, distinguish between a connected vehicle, a scheduled session, active communication and charging in progress.
Make Sure the Connector Is Fully Inserted
A connector can appear to be attached without being fully seated. Remove it according to the vehicle instructions, check the accessible surfaces for dirt or obstructions, and reconnect it firmly without forcing it.
The cable should not pull sideways or downward on the vehicle inlet. Excessive cable tension can make it harder for the connector and vehicle lock to remain correctly aligned.
Do not hold, modify or bypass the connector latch. If the connector repeatedly fails to lock, or the vehicle continues to report an incomplete connection, try a different compatible charger if one is safely available.

Read the Charger Status
Look at the charger’s screen or indicator lights before restarting anything. A charger may show that it is ready, waiting for the vehicle, counting down a delay or responding to a detected fault.
Status colors are not universal. Read the instructions for the specific charger rather than assuming that the same color always has the same meaning. ChargePoint’s Home Flex troubleshooting guide, for example, separates delayed charging messages from fault indications.
A portable Level 2 charger with a built-in status display can show current, voltage, charging status and delay settings in one place. These readings help identify the stage at which charging stopped, but they do not replace the error information displayed by the vehicle.
Find Out Whether the Problem Follows the Car or Charger
If another known-compatible charging location is available, check whether the vehicle can charge there. A successful session elsewhere suggests that the original charger or power source needs closer inspection.
If the same charger is safely available to another compatible vehicle, that comparison may also help. Do not perform this test when the connector, cable, plug or outlet shows damage or unusual heat.
A single successful test does not prove that every part of the original setup is safe. It only helps determine whether the problem appears to follow the vehicle or remain with the charging location.

Stop if the Fault Keeps Returning
Stop using the equipment if you notice a loose connection, unusual heat, discoloration, cracking, moisture, a burnt smell, arcing or repeated fault messages. Do not keep reducing the current to work around a damaged connection.
A breaker that trips again should not be repeatedly reset. Leave the charger disconnected and have the circuit inspected by a licensed electrician.
If the electrical supply appears normal but the vehicle rejects more than one compatible charger, record the error message and contact the vehicle manufacturer. If the fault appears only on one charger, contact the charger manufacturer with the displayed code and session details.
The key is to identify whether the vehicle is waiting, the connection is incomplete or the equipment has detected a fault. Being plugged in confirms only the physical connection—it does not confirm that charging has started.
Recommended Reading: Why Does My EV Stop Charging Before It’s Full?


Share:
How Two-EV Households Can Share Home Charging
Why Is My EV Charging Plug Stuck in the Car?